The holiday season is upon us! If you’re not in the thick of decorating and buying gifts, you probably will be soon! Every year, I like to challenge my creativity by creating some easy DIY Christmas decorations. While I do reuse my décor, I try to make each year fresh and new. This year is the first Christmas where my daughter is alert enough to enjoy the festivities. I want to make things extra special for her!
In this post, I’m sharing a collection of my best DIY Christmas décor from the past few years. These are all pretty easy to recreate, and you can customize them to suite your own style. I hope you enjoy creating these as much as I did!

I’m listing this simple project first because it is my favorite one. I made these tassel tree pillows for Christmas 2020. I have continued to use them in my home every holiday season since then. I’m into sewing, so I actually sewed the pillows and attached the tassels myself, but you could start with a plain, pre-made pillow if you don’t want to sew.
Cut your pieces of tassel trim to size. The smallest tier of the tree should have two tassels, and each row should have one more tassel than the previous row. I did five rows of tassels on mine, but you could do more if your pillow is long. Use hot glue to attach them in place, ensuring that the tassels in one row line up with the gaps in the next. To top it off, I cut a small gold star and glued it in place.
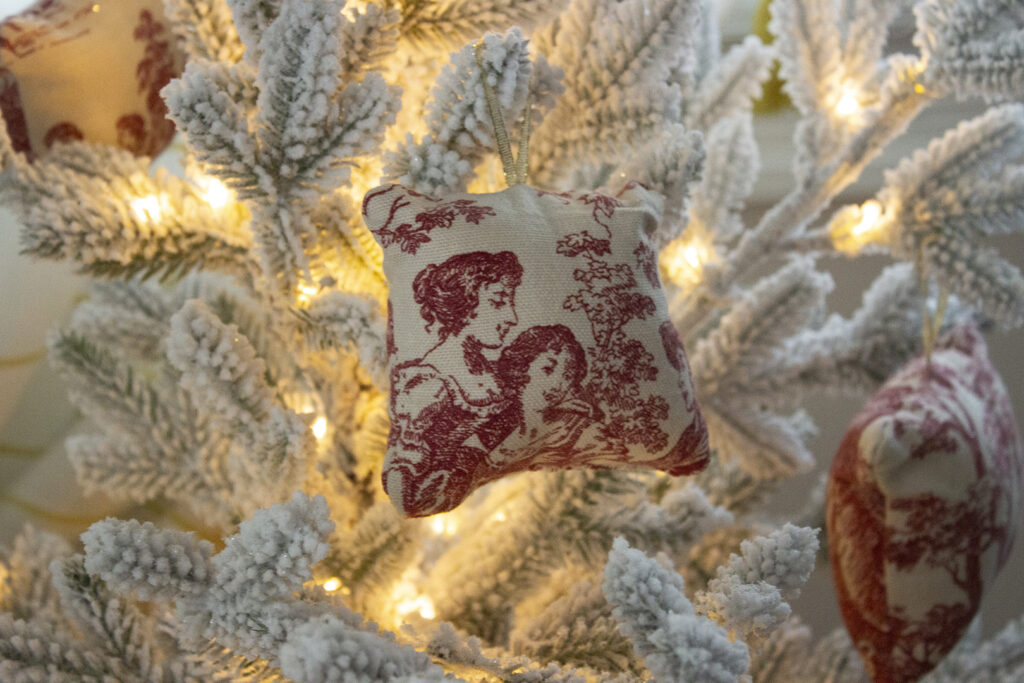
I found strips of a gorgeous red toile fabric for cheap at a thrift store, and I was determined to salvage them. I decided to make small pillows and attach loops to the top for hanging to turn them into ornaments. You could also string them all together to make a garland.
These ended up being perfect for this year’s tree. I didn’t want my young daughter to break my ornaments, so I just used all of these pillows this year. That way if she grabs them she can’t do any damage.

I made these in 2023 to attach to Christmas gifts, and I liked them so much that I made more this year. These sweet frame ornaments are a great way to use festive scrap fabric. To make your own, check out my DIY frame ornaments tutorial.
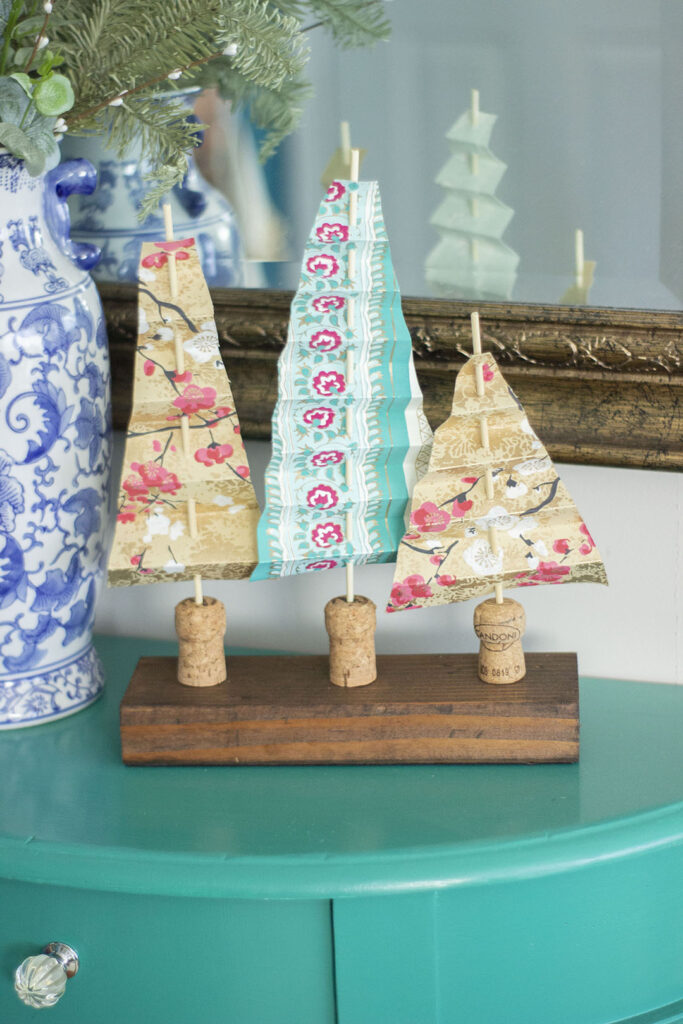
I can’t take credit for this idea, because I found it on Pinterest. For detailed instructions, here is the colorful paper tree forest tutorial. Instead of just using wooden blocks, I used corks as the base for my trees and attached all three to one piece of wood.
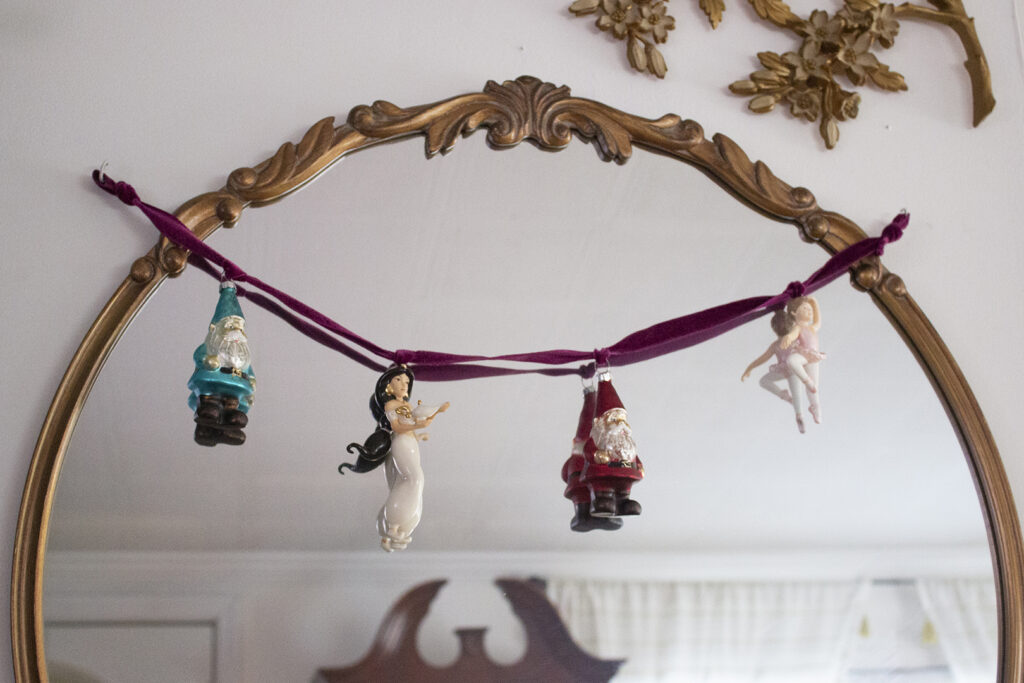
This idea arose out of my desire to display my fragile ornaments out of reach of my daughter. I simply strung my favorite baubles onto a thin piece of velvet ribbon. I tied a knot to keep each ornament from sliding around. Then I hung it over my mirror. You could hang yours on a wall or over a window.
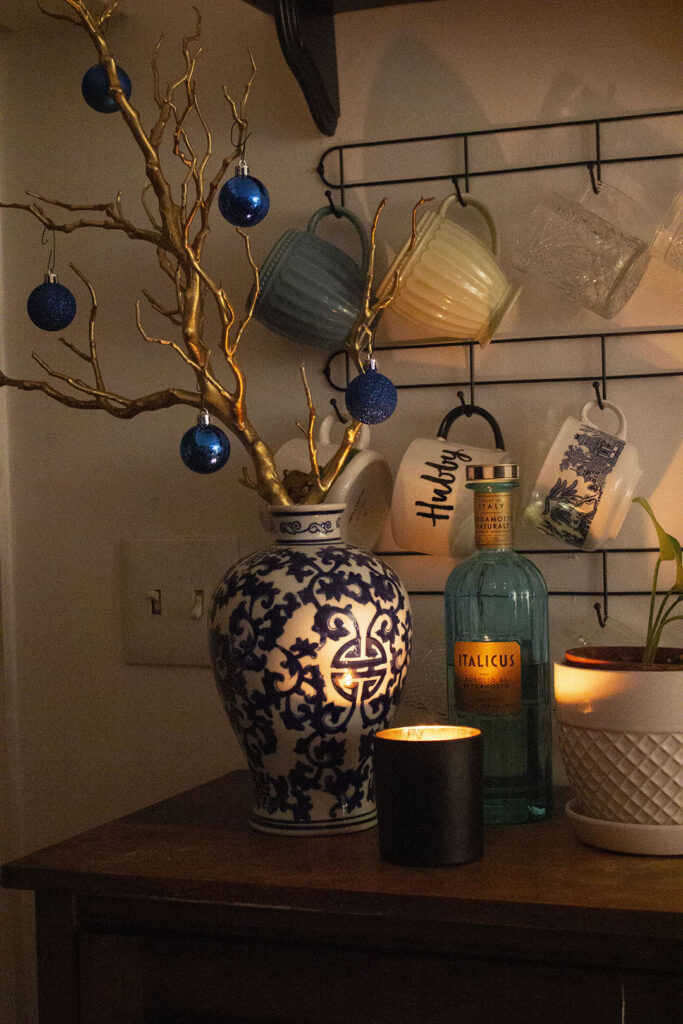
This gold branch is something I scored at a thrift store, and I got the idea to decorate it with ornaments for the holidays. You could easily recreate this look by sourcing a cool branch from your yard and spray painting it gold. This was another creative way to display ornaments out of my daughter’s reach.
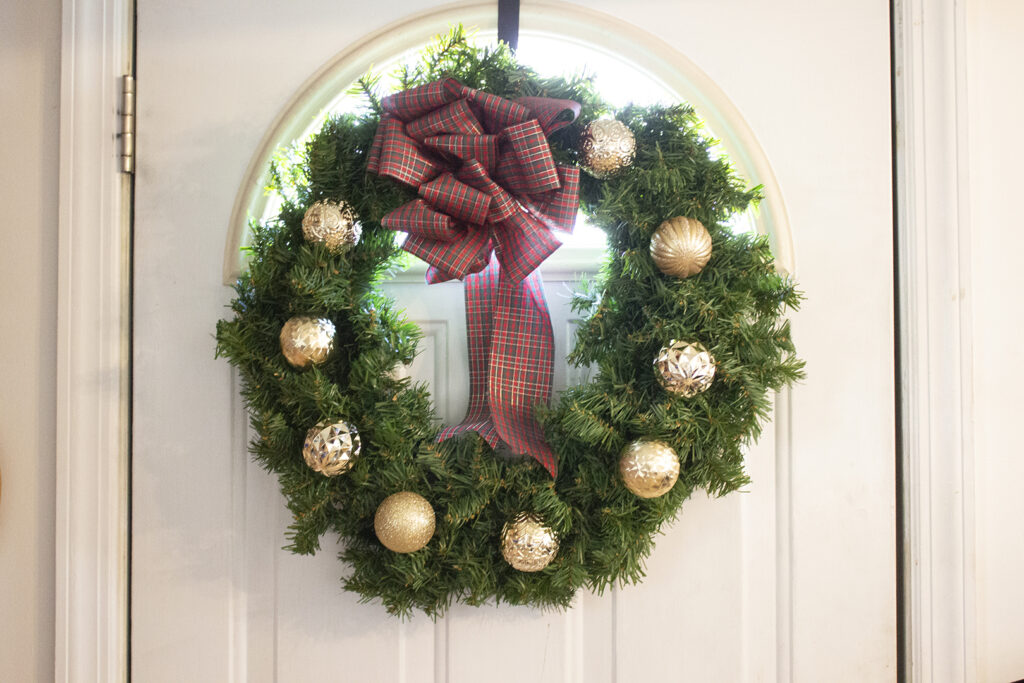
This was a super easy DIY. I had a plain Christmas wreath that my aunt gifted me. I wanted to spruce it up a bit, so I took some gold ornaments and some twist ties and attached the ornaments to the wreath. I absolutely love how this turned out!
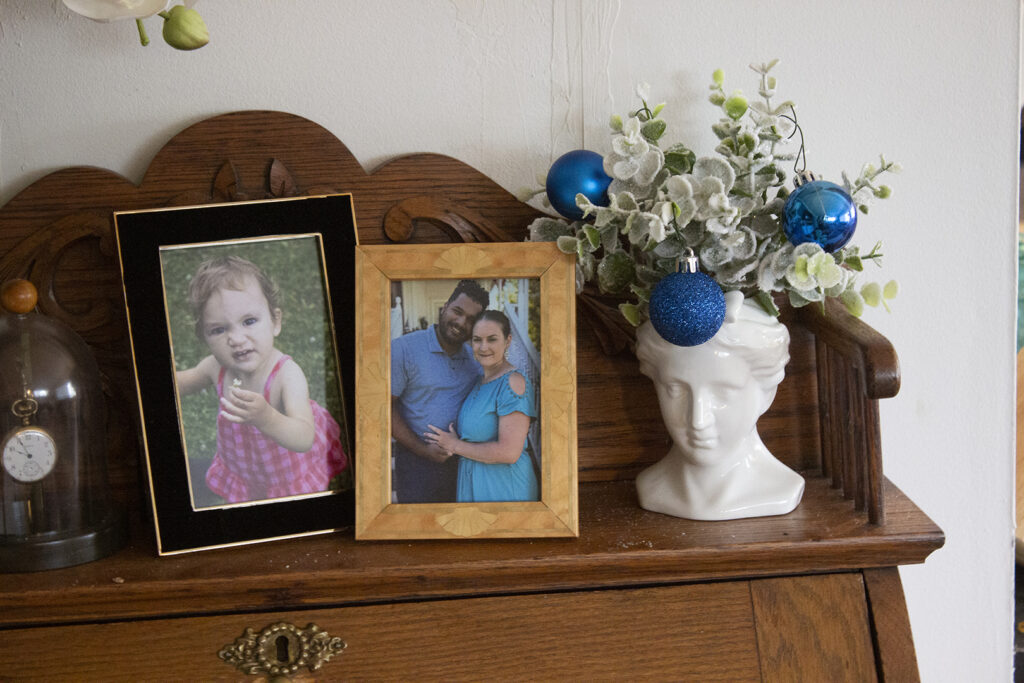
I love creating seasonal arrangements, and this one was simple but turned out beautiful. The bust vase and snowy eucalyptus stems were from Hobby Lobby. I used floral foam to stick the stems in the vase. Then, I added some small ornaments for a festive touch.
Which DIY project was your favorite? Let me know in the comments! If you recreate any of these, please tag @LaurenMagazine in your Instagram photos so I can check them out.

