
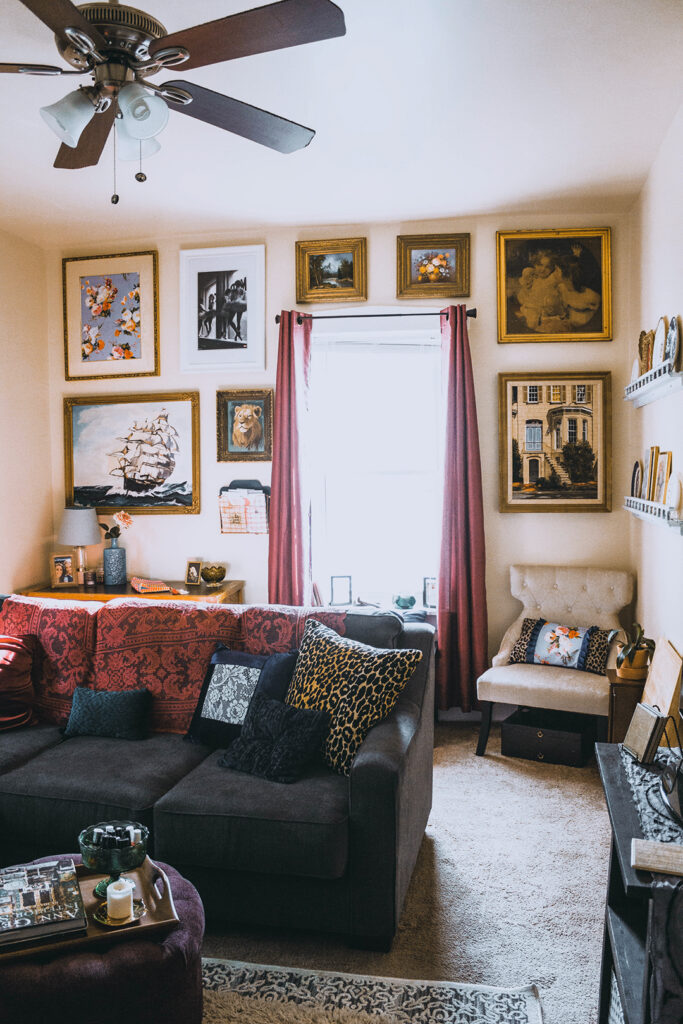
Figuring out how to make a gallery wall can seem like an overwhelming task. I’ve created quite a few of them in different apartments over the years. As a result, I have a bit of experience with learning how to create a gallery wall. Below, you can see the first one I ever created in my very first solo apartment.
To be totally honest, I usually wing it with gallery walls. I like to create my arrangement on the floor and then just hang it right up on the wall. But there are some tricks that make it easier for you to sort and hang your art.
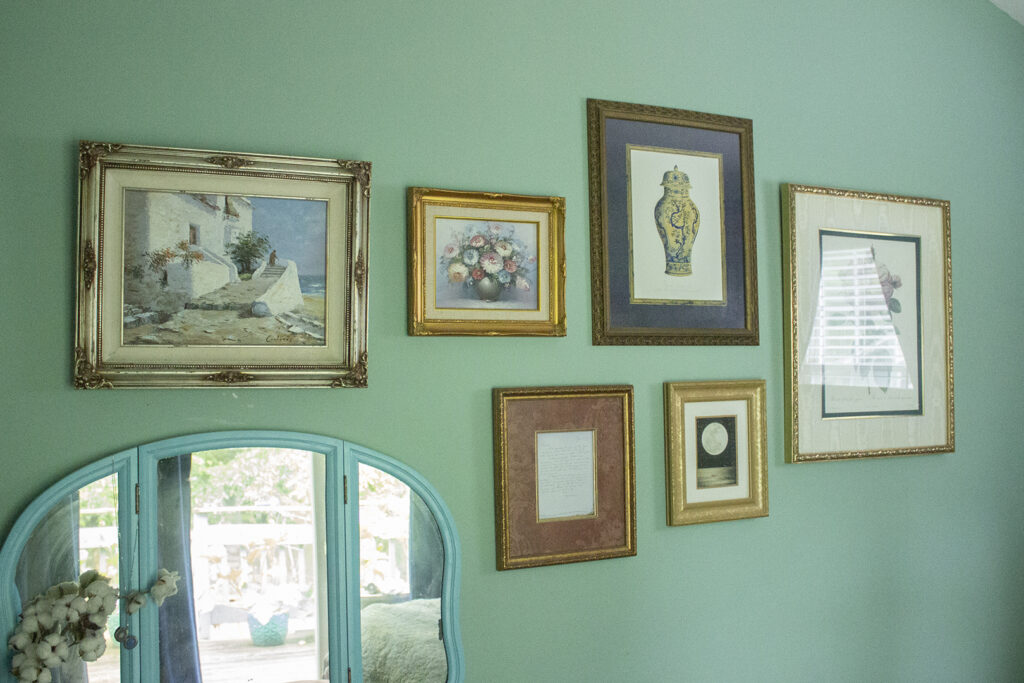
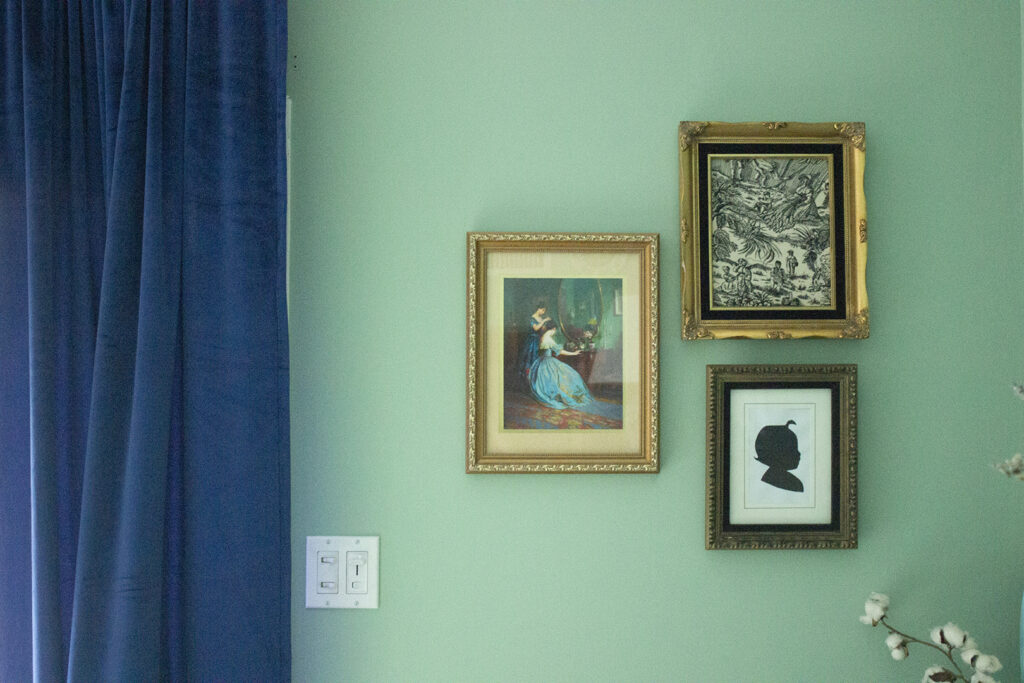
To give you a more organized method of creating a gallery wall, I utilized some tricks when designing my latest bedroom gallery. I hope this helps those of you that need to follow a process rather than “wing it.”

Your gallery wall starts with a collection of artwork or framed photos. For a uniform look, you could use matching frames and have artwork printed. I prefer a more eclectic look achieved by collecting vintage frames in various sizes. You also don’t have to stick to just frames. You could hang flat baskets, carvings, florals, or even small wreaths. Above is a cute gallery that I created in my daughter’s nursery with silver, white, and gold frames.

To figure out your layout, try cutting out pieces of paper (I used packing paper) in the size of your frames. You can even mark on the paper where the hardware is placed so you know where to put your nail holes. Tape them to the wall using painters or masking tape and arrange them until you are satisfied. You can use a level if you need help getting things straight.

I usually use picture hanging nails to hang my artwork. For larger pieces, try using a picture hook or even a screw and washer. For lightweight pieces, you could use command strips.
Again, you can mark the position of your frame’s hardware on the craft paper to show you where to place the nail or screw. Simply place your hardware over the paper where the mark is. Hang the picture to confirm placement is correct and then tear down the paper and tape.
This method mostly worked for me. My advice is to be very careful marking the location of your hardware. There were one or two nails that ended up having to be moved a bit to get placement right. But for the most part, it worked!
After trying out the paper method for hanging my gallery wall, I have some thoughts. For me, I felt like having to cut out the paper and tape it up was an extra step. I could’ve just as easily winged it and gotten the same result. But if you need a visual or need help figuring out where to place hardware, this was a very useful method. I will say it was nice knowing exactly where to put my hardware.
I’d love to see the gallery walls that you create! Tag @LaurenMagazine on Instagram in your gallery wall photos.

Lauren Magazine is an online lifestyle magazine for Christian women.

©2025 Lauren Correa. All rights reserved. Design by Lauren Correa.


